

Snap a circuit together. Watch it work.
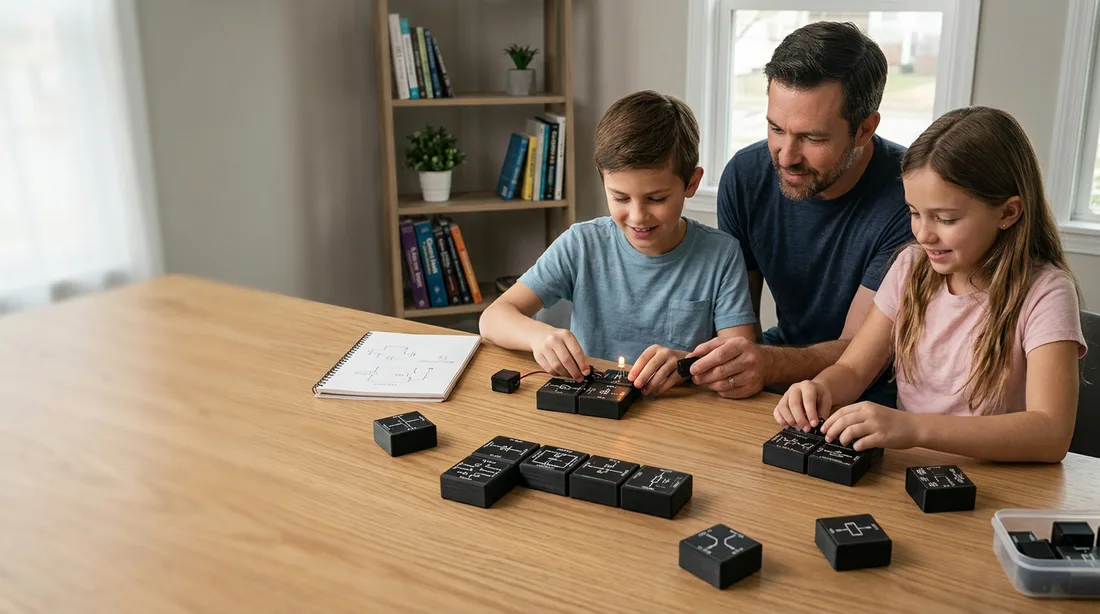
MagneTronics modules each carry one electronic component and its circuit symbol. Put them side by side and the magnetic edges join the connections. The schematic on top is the circuit that runs. Built to make electronics fun and easy to learn for all ages.
Snap. Build. Discover.
MagneTronics makes learning electronics more hands-on. Instead of loose wires and complicated breadboards, you snap magnetic electronic blocks together to create working circuits.
Snap
Magnetic connections make building quick and easy.
Build
Combine components to create working circuits.
Discover
Experiment, observe and learn how electronics works.
How does it work?
- Pick your components
Choose the electronic components you want to use.
- Snap them together
The magnetic connections make it easy to assemble your circuit.
- Power it up
Switch it on and see what your circuit can do.
No complicated wiring. Just snap, build and discover.
Everything in one wooden box
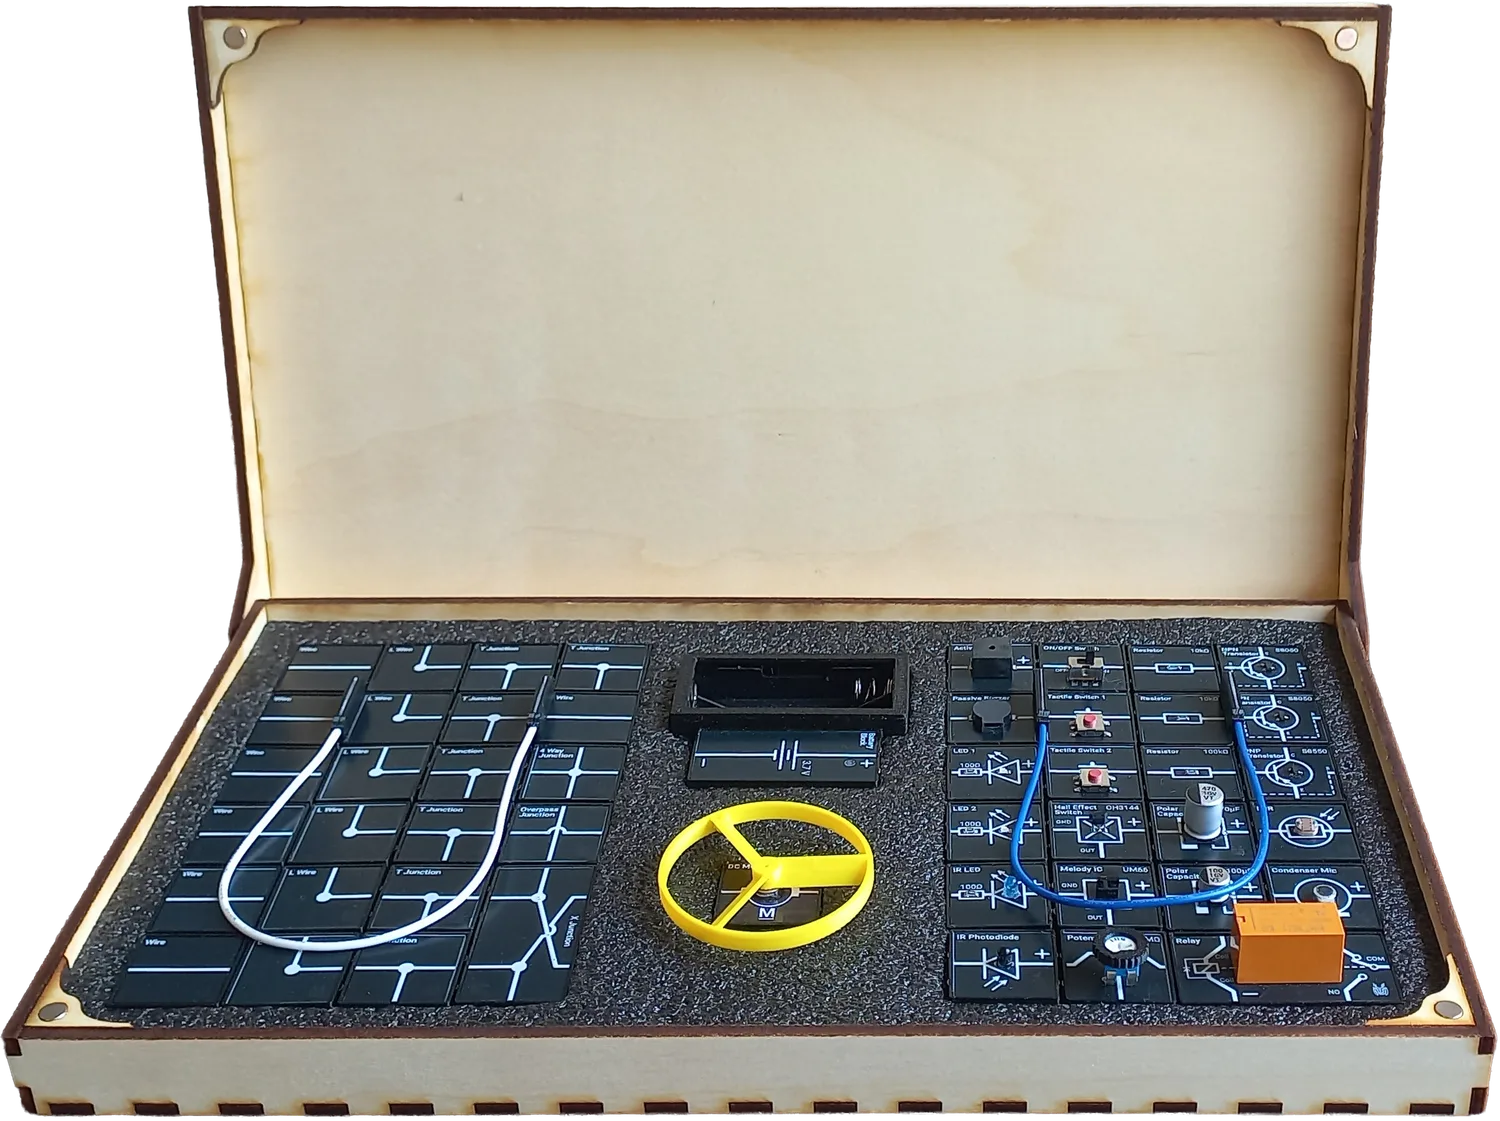
Modules, battery holder, motor and propeller, jumper wires and the manual all sit in their own cut-outs, ready to build.
- Power
Battery components
- Output
LEDs, buzzer, motor
- Control
Switches and other control
- Building pieces
Junctions, links and jumpers
Real parts. Real symbols. No wires.
Each block is a real component on its own circuit board, with its standard symbol printed on top and magnetic contacts on every edge. Snap them together and the schematic you see is the circuit that runs. Tap a block to flip it and see what it does.
Battery Block
3 V from two AAA batteries. The longer plate and + side is the positive end.
Press any block to read about it, or pick a family to see its blocks up close. Browse every block with its circuits.
- Low-voltage 3 V, designed for safe experimenting
- Real components on a circuit board inside tough PLA+ blocks
- Step-by-step manual with guided experiments
- Made in Sri Lanka
Upgraded modules, now in black
The engraved wooden prototypes proved the idea. The new set is built for small hands and quick reading.
- Sharper contrast
- Sleek, compact design
- Components clearly visible
- Made for hands-on learning
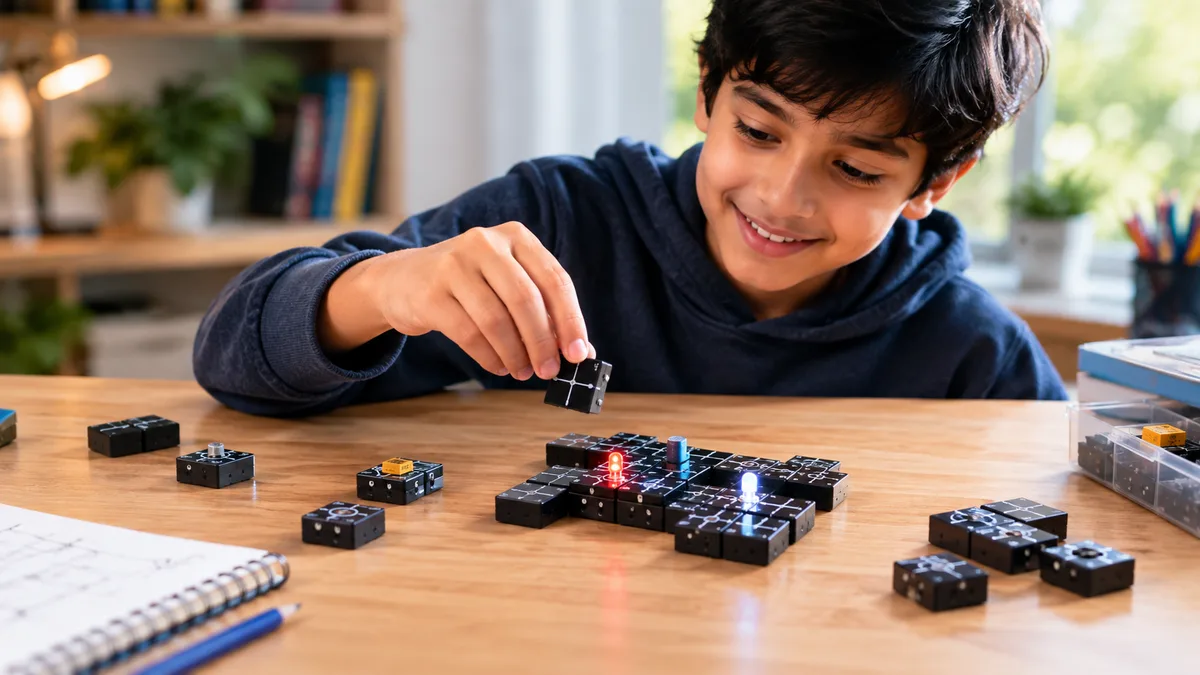
Swap a block, change what happens
The circuits in the manual are only a starting point. Swap components, change connections and experiment with your own ideas.
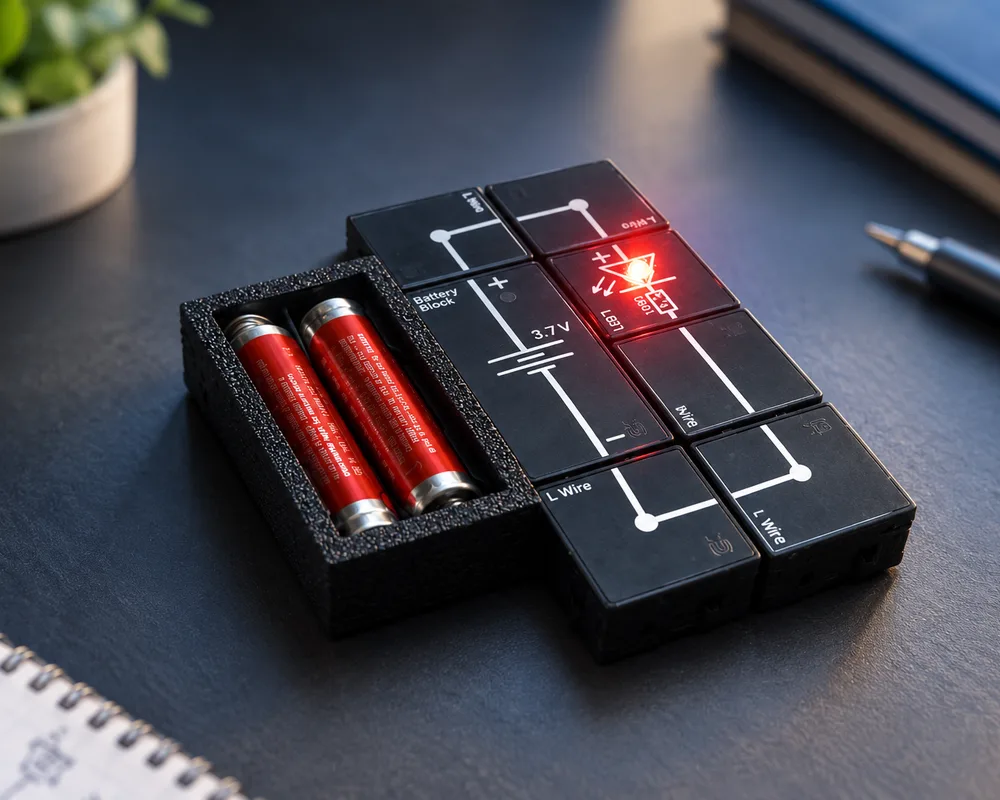
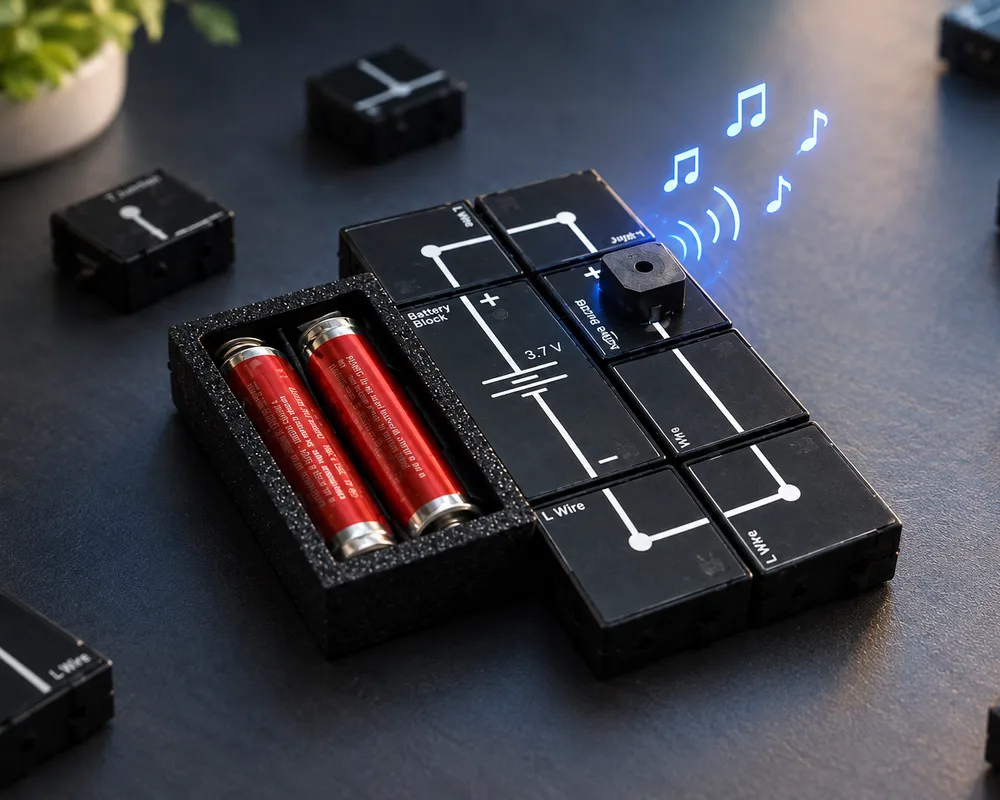
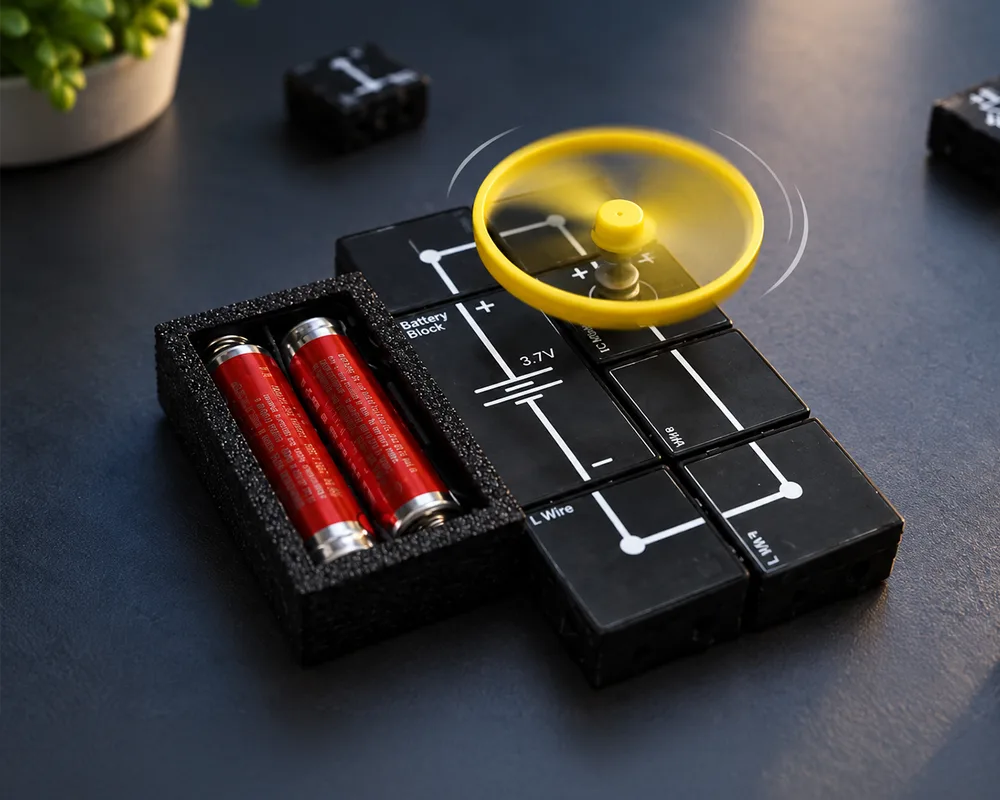
Your imagination is the limit.
Build real circuits in your browser
A full workspace with every block from the kit. Place as many as you like, join them edge to edge, and the circuit really runs: LEDs glow, motors spin, buzzers sound, capacitors charge. Start from an example or build your own.
Pick a block on the left, then press a square. Press a placed block to use it: switches flip, sensors react, anything else turns. Drag to move it. Right-click erases.
Keyboard: focus the workspace, use the arrow keys to move the highlighted square, Enter to place or use a block, R to turn it, Delete to remove it, and Ctrl+Z to undo.
Liked that? The real kit goes much further.
- Over 25 block types, from LEDs and buzzers to a motor, sensors and a relay
- Guided experiments in the manual, then your own ideas
- Magnetic blocks. No wires, no solder, no breadboard
Start with a light. End with a melody.
A few of the circuits from the manual, in the order most builders tackle them.
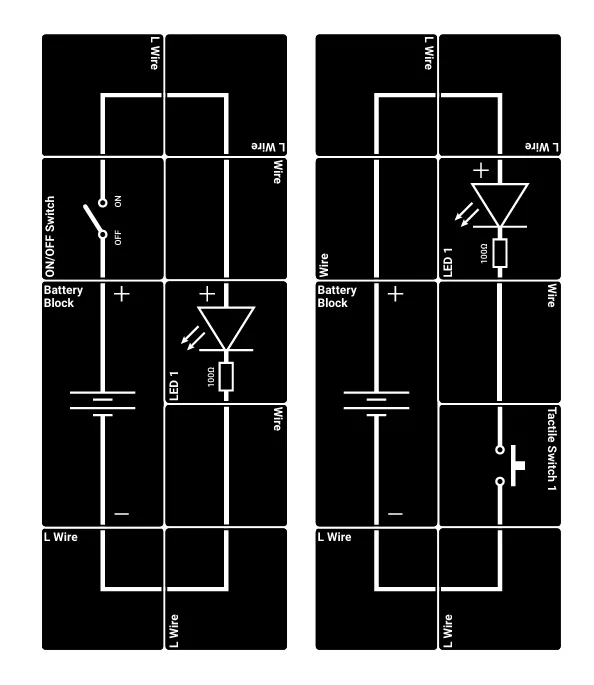
A basic circuit that turns on an LED.
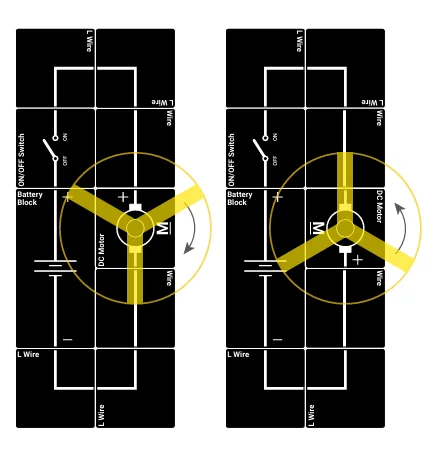
Power a small motor block easily.
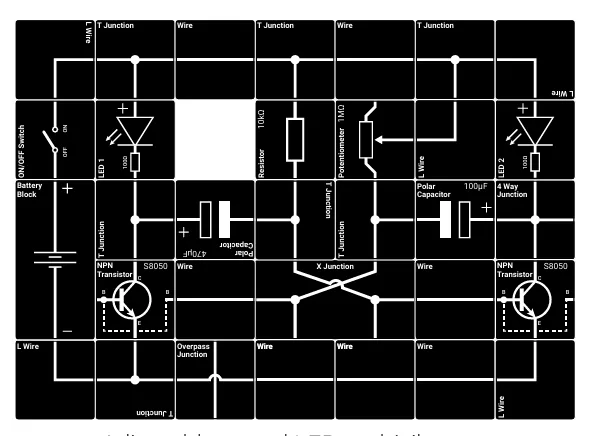
Two transistors alternately switching.
Two LEDs, two switches
See how separate paths let each light work on its own.
Transistor as a switch
A tiny current controls a bigger one. The idea behind every chip.
Dimmer
Turn the potentiometer and watch brightness follow.
Capacitor charge and discharge
The LED fades out slowly as stored charge drains away.
Light-sensing switch
A light sensor (LDR) turns an LED on in daylight, or in the dark like a garden light.
Magnet-activated switch
Bring a magnet close to the Hall effect switch and the LED lights. The motor's propeller carries a magnet too.
Astable multivibrator
The electronics classic. Two transistors take turns and the LEDs flash back and forth.
Infrared fire detector
An IR photodiode spots the infrared from a flame and sets off an LED and a buzzer.
A wooden box with your message engraved inside the lid
The upgraded set ships in a wooden box. Add a personal message and it is laser-engraved inside the lid. Type yours and turn the box to see it.
Learn it, test it, make it yours
Whether you're discovering electronics for the first time or revisiting something you learned years ago, MagneTronics makes experimenting with circuits approachable and engaging.
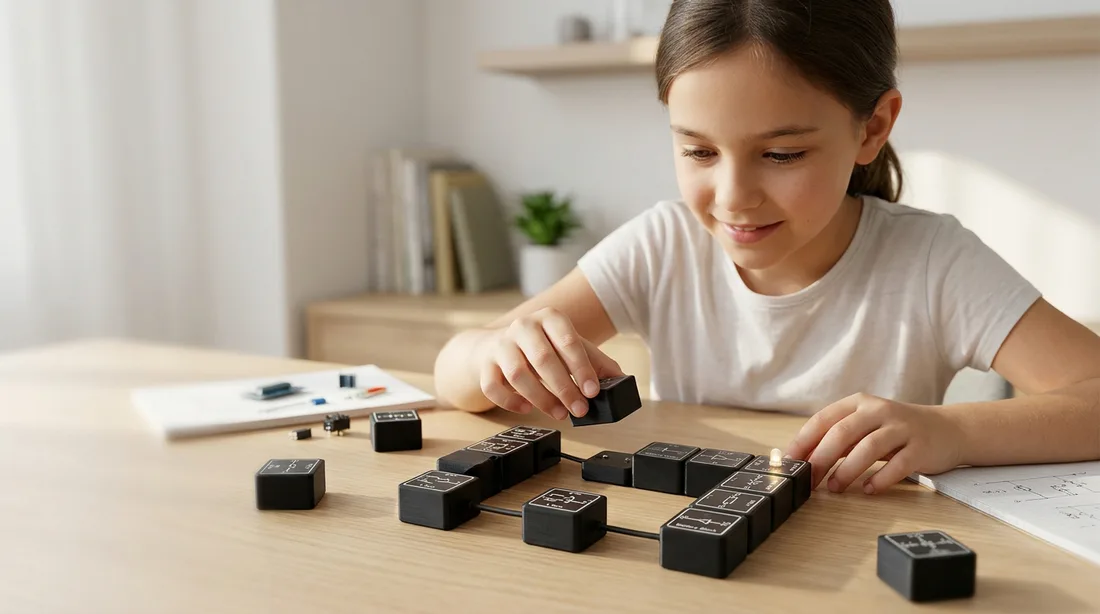
Understand fundamental electronics concepts.
Change components and connections.
Build your own circuits and ideas.
It started with simple wooden prototypes and one goal: make electronics hands-on and accessible for kids and kids at heart.
We even engraved a circuit symbol wrong on one of the first blocks, and asked our followers to spot it. Building in the open is how the kit got better.
- Wooden prototypes
Laser-engraved birch blocks and the first LED circuits shared online.
- 2,000 followers
The community starts asking for the next circuit to build.
- Upgraded modules
Black modules with sharper symbols and visible components. Preorders open.
- 5,000 followers
Updated manual with 75 circuits and the engraved wooden gift box.
Reserve your MagneTronics kit
Reservations are taken on Facebook Messenger. Fill this in and we'll write the message for you. Copy it, open Messenger, and paste it to MagneTronics.
Hi MagneTronics! I would like to reserve 1 MagneTronics STEM kit.
For: My child
Engraved wooden box: yes. Message for the lid: "Keep building. Keep curious."
Please let me know the price and delivery details. Thank you!
Good to know
Do I need to solder or use wires?
No. The modules connect edge to edge. Line up the printed tracks and the circuit is complete.
How many circuits can we build?
The updated user manual has 75 circuits to get you started, from a single LED to the astable multivibrator and melody circuits. After that, kids can design their own.
Who is it for?
MagneTronics is made for all ages: kids learning their first circuit, and grown-ups who still remember building theirs.
Can I personalise the box?
Yes. The upgraded set comes in a wooden box, and you can have a personal message laser-engraved inside the lid. Only a limited number are available in this batch.
How do I order?
Send a message to the MagneTronics Facebook page. Use the form above to write it in one go. We'll confirm the parts list, delivery and availability for the current batch.